

8 simple steps to create a food forest
Plant the food forest of your dreams with this easy to follow, step by step guide.
Planting a whole food forest can seem intimidating, but it’s actually a simple and straightforward process. Breaking it down into individual steps assures success for even the most novice gardener. So don’t worry, you’ve got this! Whether you are working with a small plot or half an acre, we’ve got your covered. So what are you waiting for? Stop mowing and start growing!
1. Understand your space
Do you have a big, open yard to work with, or are you confined to a particular area? Are there existing trees or other plants that need to stay? Once you have identified the area and elements that you will be working with, it is time to think about the sun. In the northern hemisphere, the sun is always a bit to the south, and in the southern hemisphere, a bit to the north. This orientation is what will dictate how you lay out your food forest. Small plants will be closest to the sun, big plants and trees will be farthest away. Try to envision a wedge -shaped forest in your space, with short plants transitioning to taller plants and bushes, then ultimately to shorter and taller trees. You are almost ready to start drawing your plan!
2. What’s your budget?
This is definitely not the sexiest part of the process but we put this in as step 2 because it will shape everything about what you do next. Trees and plants can be acquired for free as seeds or cuttings, purchased inexpensively as young seedlings, and of course, brought in as mature specimens for a large premium. Your budget, along with your wish list, will dictate where along this continuum you will be spending your money. Aside from plants, other elements such as pathways and irrigation need to be accounted for. For these reasons it is very important to consider budget before starting your plan.

4. Draw your plan
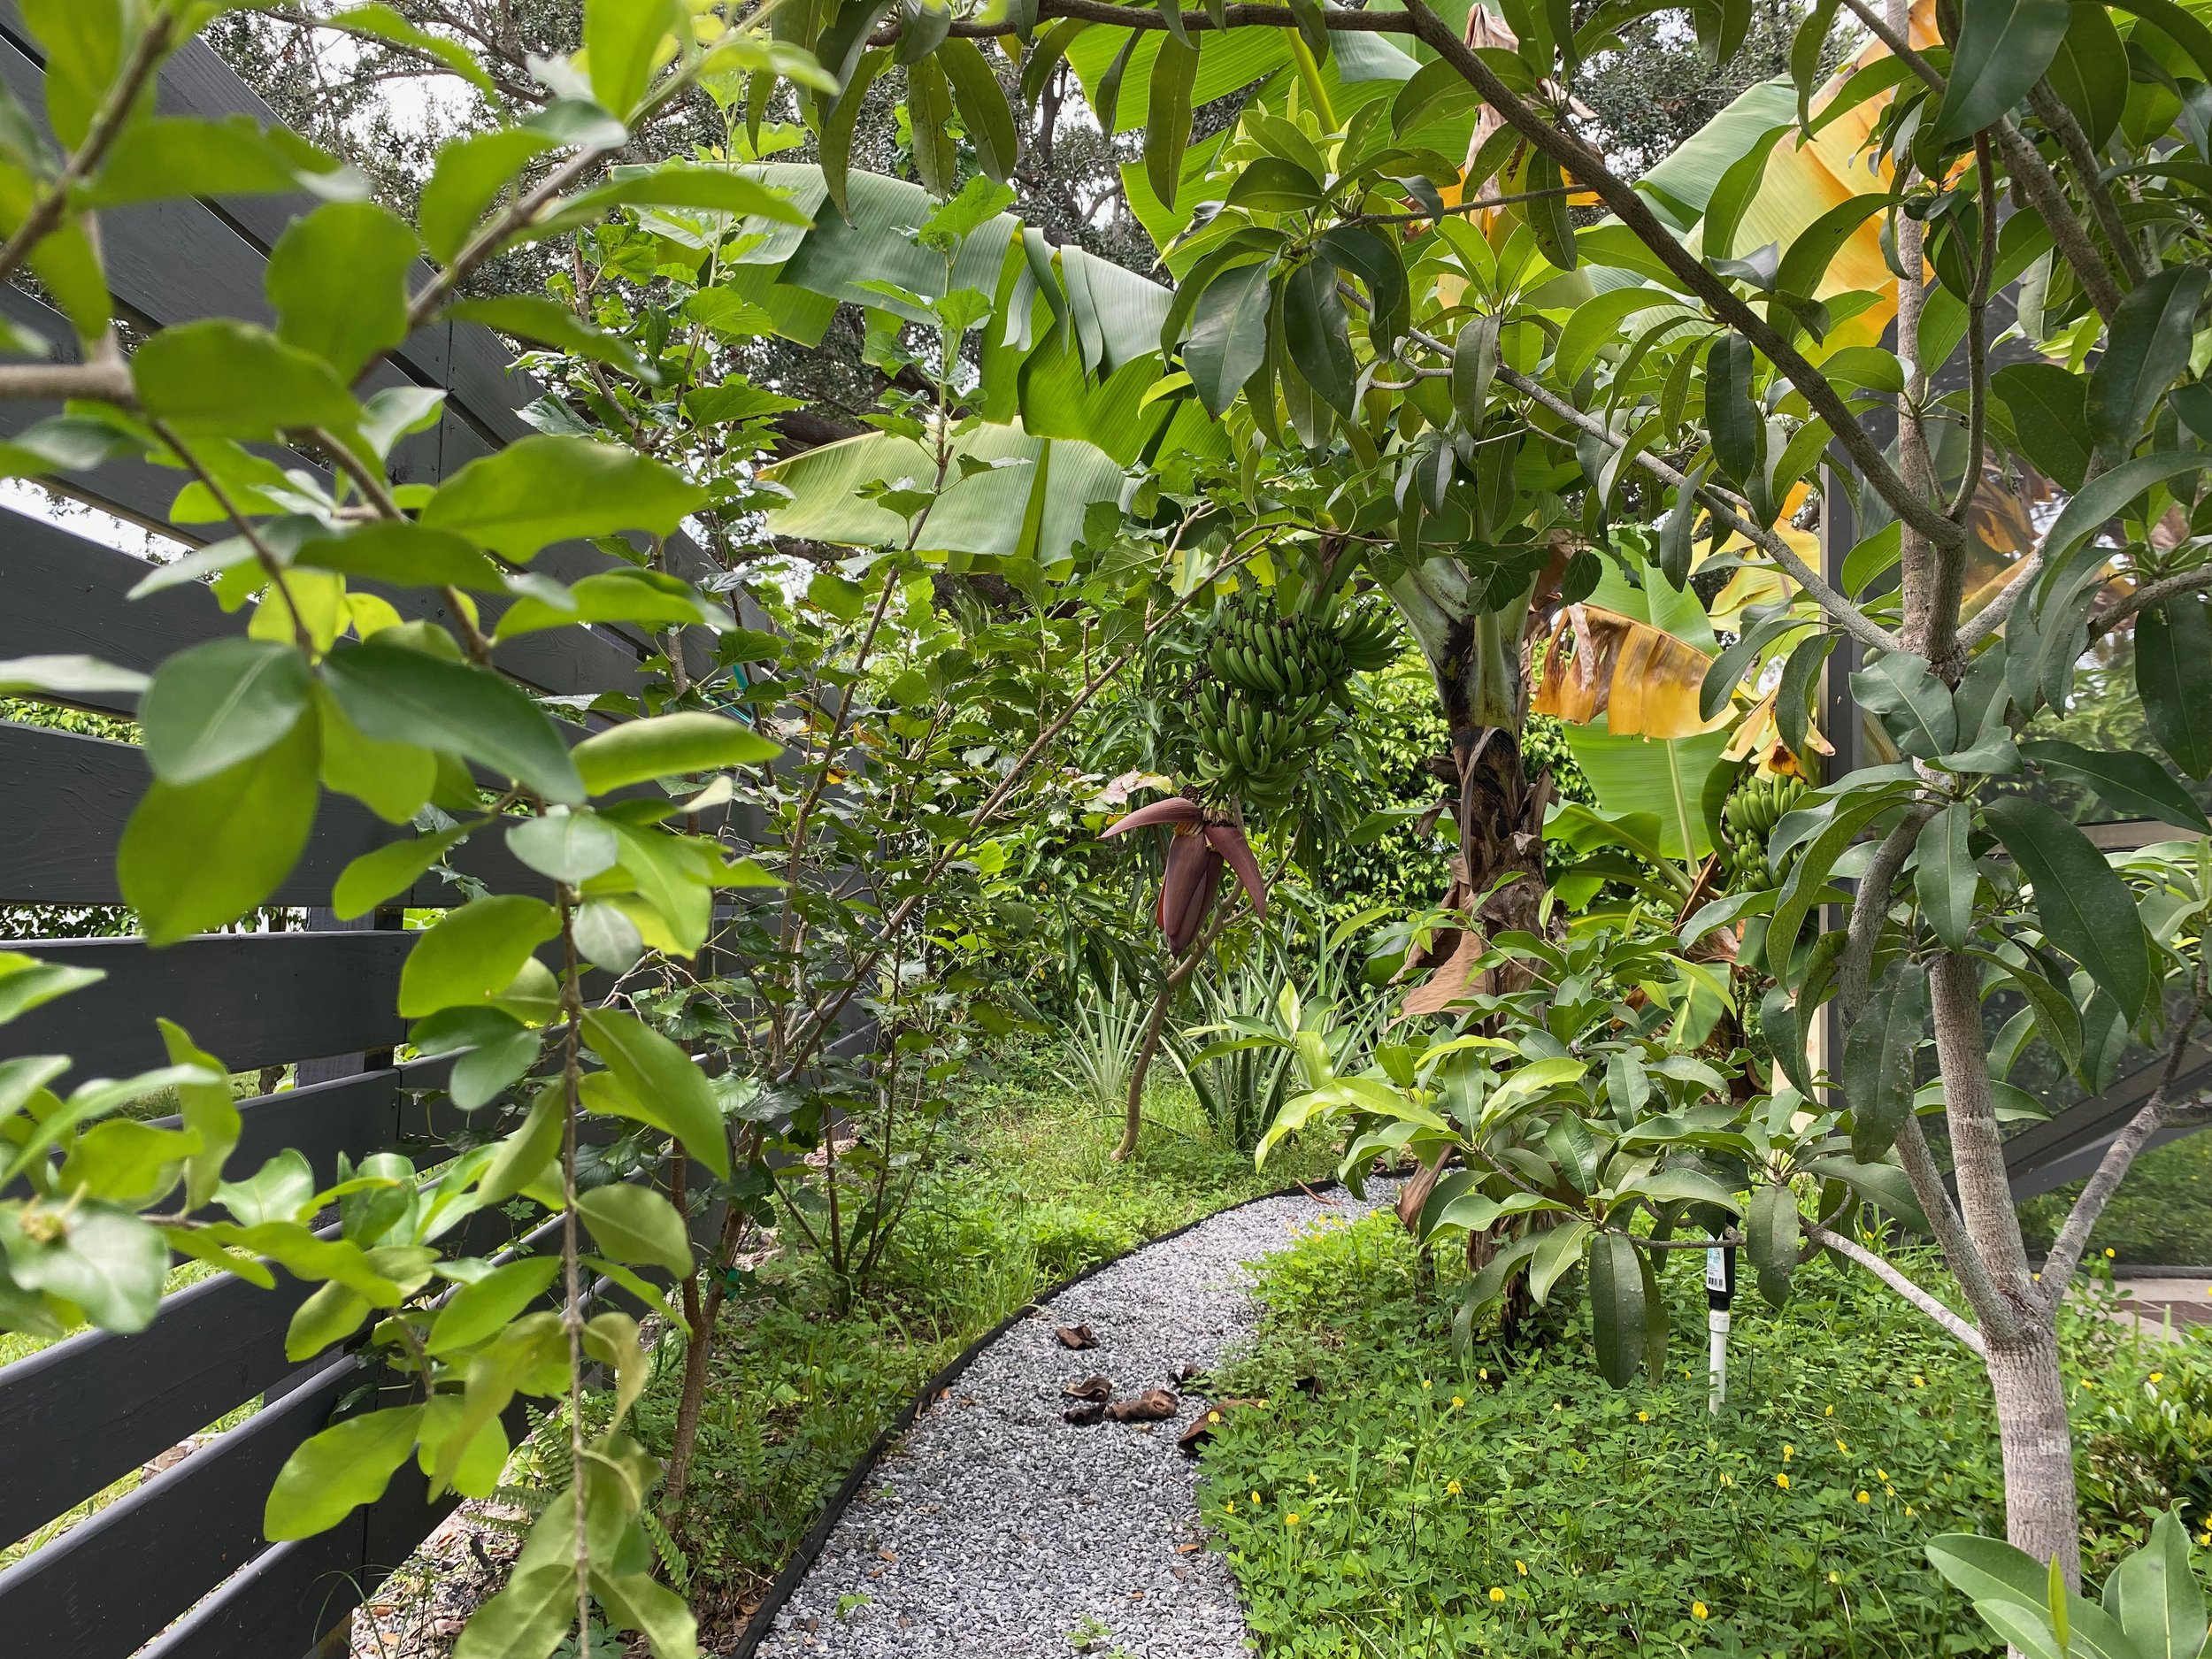
There are free online tools or you can do it the old fashioned way. However you draw it, make sure to draw your plan to scale. Food forests have seven layers. Start by drawing in the canopy trees, making sure to draw and space them according to their ideal mature size. Next draw in the understory trees, then bushes and smaller plants. Remember to keep the tallest plants farthest from the sun or to allow adequate spacing to avoid shading issues.
3. Decide what to plant
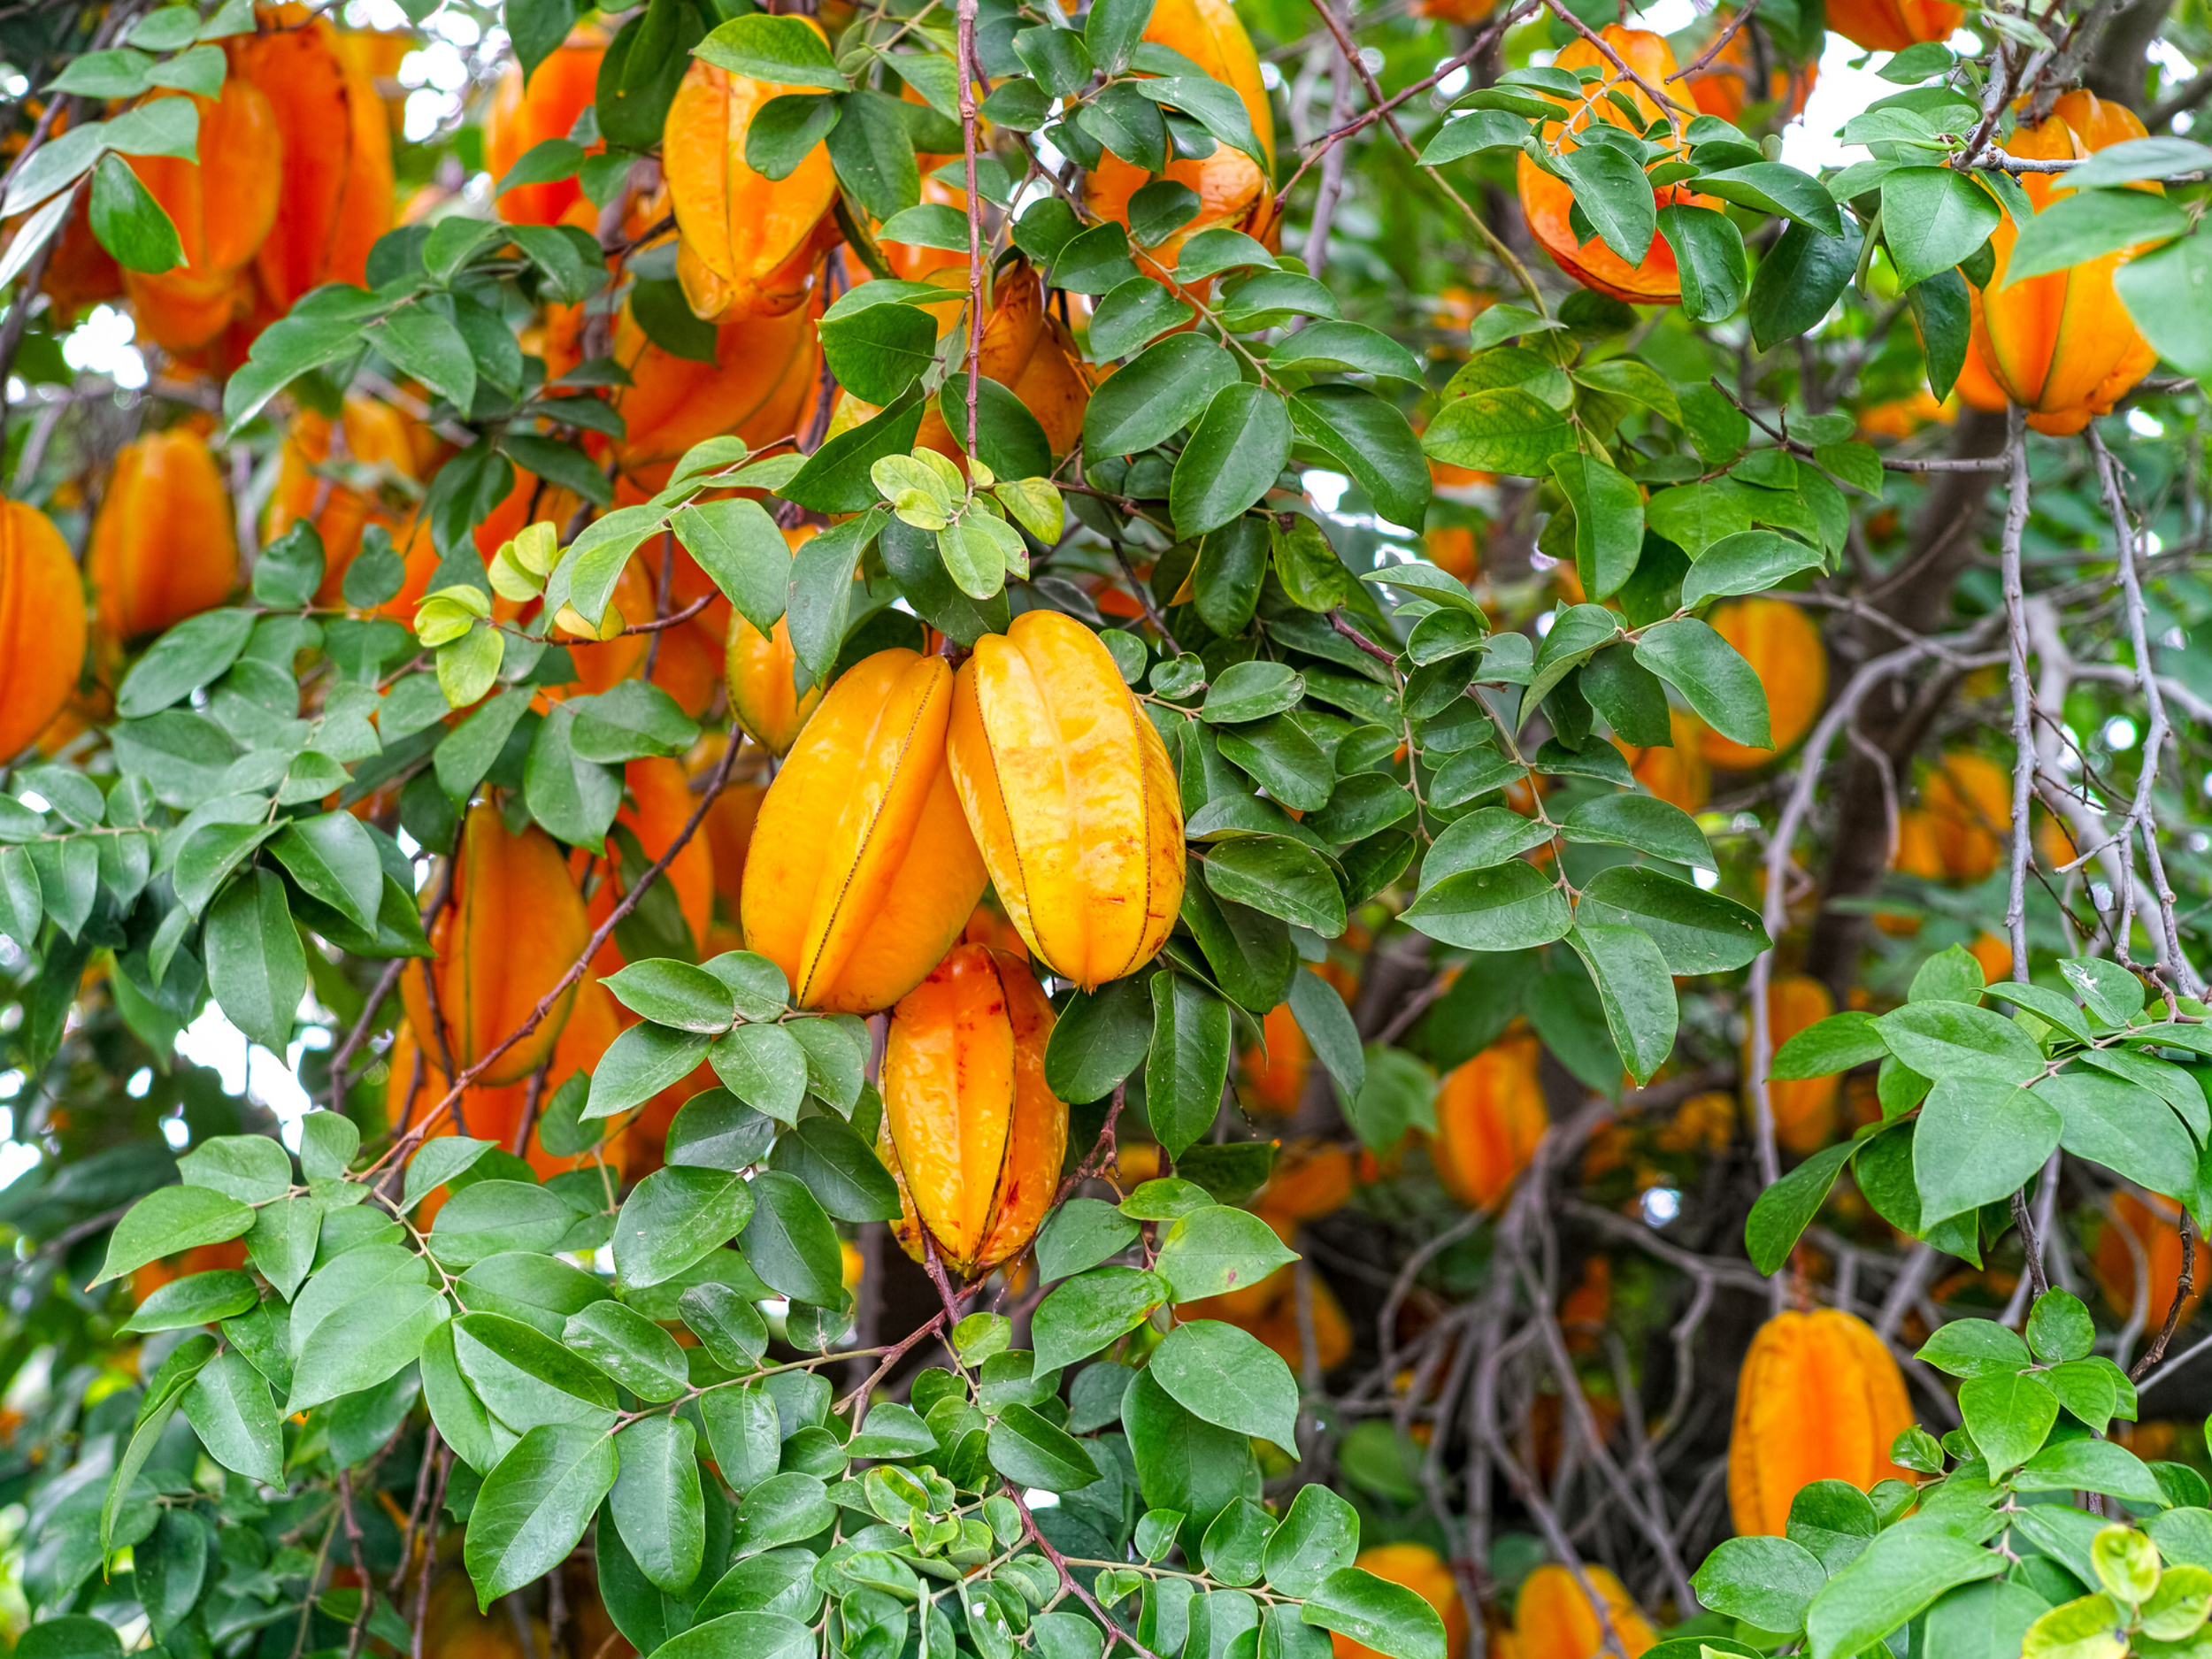
As you are drawing your plan, you need to have a basic understanding of what to plant where. Some trees grow larger or faster than others. Certain plants prefer full sun, while others are partial to some shade. Understanding the needs of your plants helps ensure that you place them correctly, which in turn allows them to thrive. It sounds obvious, but start with what you like. Tour local nurseries and find the fruits and vegetables that you like to eat. If you are unsure of how to care for the plants, ask questions. The staff should be knowledgable and happy to help. Here is a list of plants we like to use in South Florida food forests.

5. Prepare your site
It may not seem rewarding at the time, but the effort that you put into this will do more to ensure future productivity and ease of maintenance than any other step. This is your best opportunity to amend your soil, and to remove troublesome grass and weeds. If you are dealing with an area that is presently a lawn, it is highly recommended to remove the sod. If you are able and the size warrants it, you can rent a sod cutter. If this is not an option, it can be done by hand and there are some ingenious methods posted on youtube. If the area is free from rocks and tree roots, now is a great time to use a rototiller to incorporate compost or manure into the soil. Finally, now is the time to address any changes to an irrigation system or to plumb in a new one. It is much easier to do this before you plant!
6. The fun part - Planting!

There is nothing quite like the instant gratification of planting a food forest, and with a little planning the process will be as easy as it is enjoyable. For starters, drink plenty of water and rest frequently. Start with the biggest trees and work your way down. When you dig your holes, dig them as deep as your root ball and at least twice as wide. Before placing the tree, soak the hole with water. Place the tree into the hole with the top of the soil from the tree being an inch or two higher than the soil in the yard. This will allow for settlement over time. Backfill around the root ball with the soil you dug out, mixing with compost or manure if you desire, and then water thoroughly. Depending on your choice of ground cover, dressing with a layer of mulch may be appropriate at this time.
7. Ground cover and paths
Now that your individual trees, bushes and other plants are in the ground, it is time to focus on ground cover and pathways. Ground cover will keep the weeds at bay, and can act to fix nitrogen while keeping the soil cool and moist. Choose a ground cover that will stay short and is comfortable in sun and shade. Paths give you access to your plants for care and harvesting. Mulch, gravel and paver stones are easy materials to work with. It is a good idea to put down a weed guard material below the pathways, and some sort of edging to keep everything confined.

8. Initial and long-term care
Congratulations, you have planted a food forest! Now what do you do? The good news is that food forests are incredibly productive systems that require relatively little maintenance once they are established. Over the first couple of weeks you will need to water every morning and depending on conditions, maybe a second spot water in the afternoon. The key is to keep the soil around the trees moist so that they can get established and start to send out their roots. After week two, pay attention to how the plants look in the morning. If the leaves look good and strong, you can start to back off your watering to every other day. Continue on this schedule for another week or so. By this point your food forest should be able to survive in most conditions with water only once or twice a week or even on rain only if you live somewhere that receives good rain. Now it is time to start composting. Find an area in your yard where you can start a compost pile and place all vegetative scraps from the kitchen and the yard and food forest trimmings in it. Top dress your food forest with your compost when it ripens, and supplement with fertilizers as needed.